Summary
Using Animation Curves in Unreal Engine 5, you can accelerate specific parts of an animation like a quick punch, sudden dodge, or jump. A very useful feature!
Environment
- Unreal Engine 5.6
Main Steps
Step 1: Create a Curve
- Open the animation sequence in the Animation Editor
- Click "Add Curve" in the Curves Panel
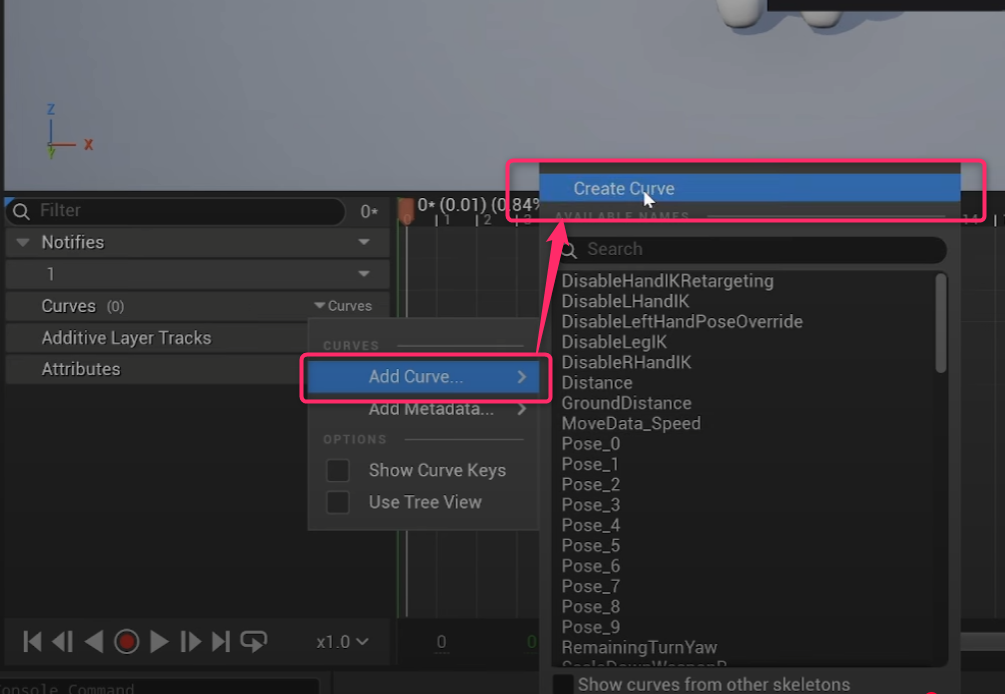
- Name it something like
PlayRateMultiplier(Float type)
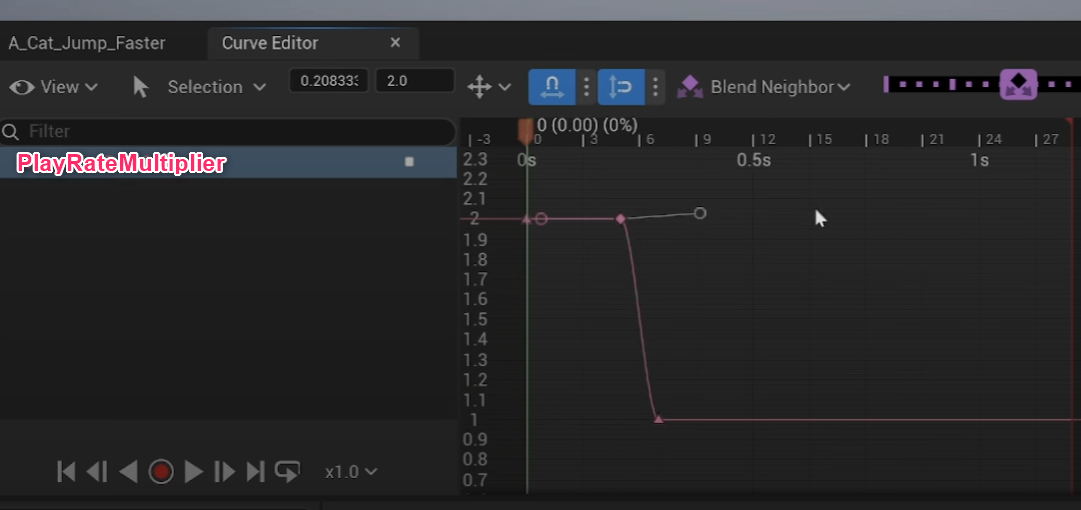
Step 2: Set Keyframes
- Right-click the timeline to add keyframes
- Normal speed:
1.0 - Accelerated section:
2.0(e.g., 2x speed) - Adjust tangents for a smooth transition
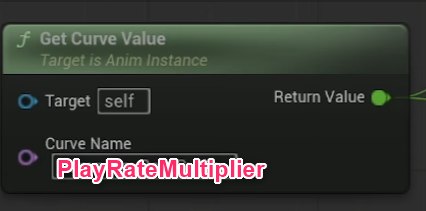
Step 3: Use in Animation Blueprint
- Open the character's Animation Blueprint (ABP)
- In the Anim Graph, add a “Get Curve Value” node
- Set Curve Name to
PlayRateMultiplier
- Select the animation node, click Play Rate, and choose “Expose as pin”

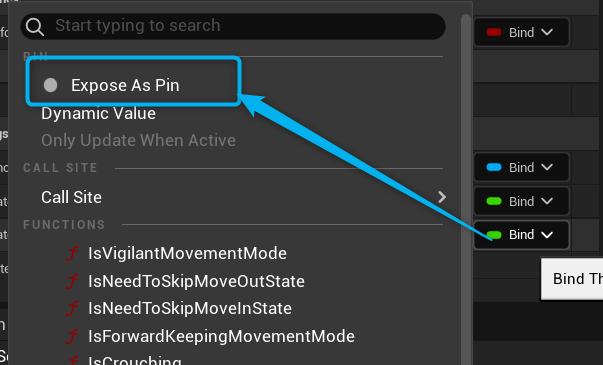
- Connect the output of Get Curve Value to the Play Rate input of the animation node
Result: Now you can dynamically control speed within a single animation!
This also works with Animation Montages—give it a try!